


How to Clean and Maintain Your Grill: A Complete Guide

Keep your grill performing like new with these essential cleaning and maintenance tips for gas, charcoal, and pellet grills.
A well-maintained grill is the secret to consistently great-tasting food. Over time, grease, carbon buildup, rust, and ash can affect your grill’s performance, create off-flavors in your food, and even become a fire hazard. The good news is that with a regular cleaning routine and a few simple maintenance habits, your grill can last for many years and continue to deliver outstanding results every time you fire it up.
In this comprehensive guide, we walk you through everything you need to know about cleaning and maintaining your grill, whether you own a gas grill, a charcoal grill, or a pellet smoker. We cover daily habits, deep-cleaning procedures, seasonal maintenance, and troubleshooting tips to keep your grill in peak condition.
Why Grill Maintenance Matters
Before we get into the how-to, it is worth understanding why regular grill maintenance is so important. There are three key reasons.
Food safety and flavor. Built-up grease and old food residue can harbor bacteria and produce rancid flavors that transfer to your food. A dirty grill grate can also cause food to stick, tearing delicate items like fish fillets and chicken skin.
Performance and efficiency. Clogged burner ports on a gas grill lead to uneven heating and hot spots. Excessive ash in a charcoal grill restricts airflow and makes temperature control difficult. A dirty pellet grill auger can jam and cause temperature fluctuations.
Safety. Grease fires are one of the most common grill-related accidents. According to the National Fire Protection Association, grills are involved in thousands of home fires every year, and failure to clean is a leading contributing factor. Regular cleaning dramatically reduces this risk.
Daily Cleaning Habits (After Every Cook)
The easiest way to keep your grill clean is to build a few simple habits into your cooking routine. These steps take only a few minutes but make a huge difference over time.
Step 1: Burn Off Residue
After you finish cooking, close the lid and turn the heat to high (for gas grills) or open all the vents (for charcoal grills). Let the grill run for 10 to 15 minutes. This burns off most of the food residue and grease stuck to the grates, turning it into ash that is much easier to remove.
Step 2: Brush the Grates
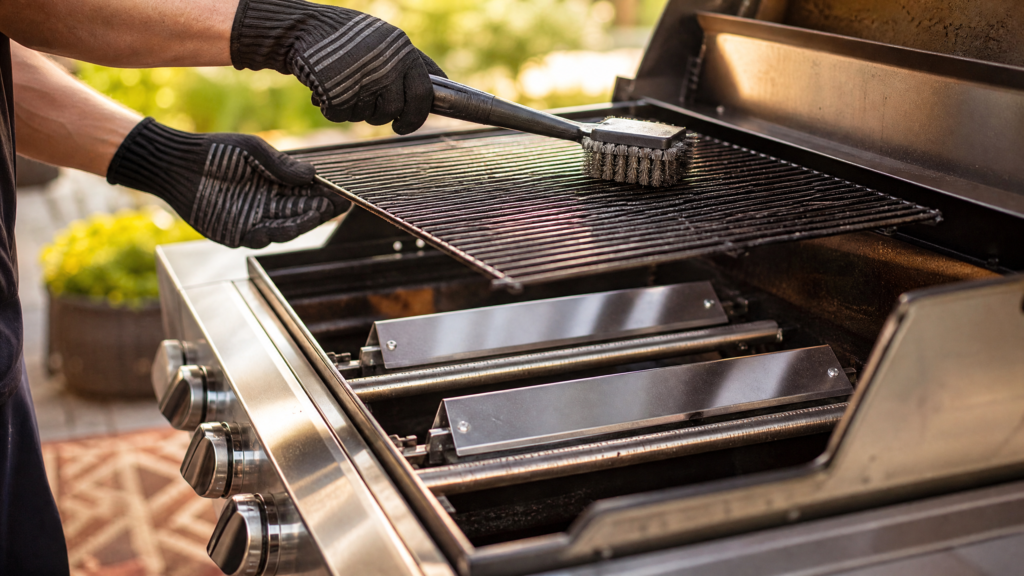
While the grates are still hot, use a stiff wire grill brush or a grill stone to scrape off any remaining debris. Work in the direction of the grate bars for the most effective cleaning. If you do not have a brush, crumpled aluminum foil held with tongs works as a decent substitute.
For cast iron grates, avoid using a wire brush with excessive force, as it can strip the seasoning. Instead, use a softer brush or a nylon scrubber, and apply a light coat of cooking oil after cleaning to maintain the seasoning.
Step 3: Empty the Grease Tray or Ash Catcher
On gas grills, check the grease drip tray and empty it if it is getting full. On charcoal grills, empty the ash catcher once the ashes have completely cooled. Never dispose of hot ashes in a plastic bin or near flammable materials — always use a metal container.
Step 4: Wipe Down the Exterior
Use a damp cloth or paper towel to wipe down the outside of the grill, including the lid, side shelves, and control knobs. This prevents grease and dust from building up on the exterior surfaces and keeps your grill looking great.
Deep Cleaning (Every 3 to 6 Months)
In addition to daily habits, your grill needs a thorough deep clean at least two to four times per year, depending on how often you cook. Here is a step-by-step process for each grill type.
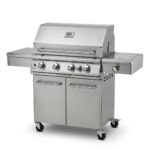
Deep Cleaning a Gas Grill
1. Disconnect the gas supply. Always start by turning off the propane tank valve or shutting off the natural gas line. Disconnect the tank for safety.
2. Remove and soak the grates. Take out the cooking grates and soak them in a large tub or bucket filled with warm water and dish soap for at least 30 minutes. For stubborn buildup, add a cup of baking soda to the soak. After soaking, scrub with a grill brush or scouring pad, rinse thoroughly, and dry completely.
3. Clean the heat deflectors. Remove the metal heat deflectors (also called flavorizer bars or heat tents) and scrape off any carbonized grease with a putty knife or grill scraper. Wash them with soapy water, rinse, and dry.
4. Inspect and clean the burners. Carefully remove the burner tubes and inspect the ports (the small holes along the tube) for clogs. Use a pipe cleaner, paper clip, or specialized burner cleaning tool to clear any blocked ports. If a burner is heavily corroded or has large holes from rust, it is time to replace it.
5. Clean the firebox. Scrape the inside of the firebox (the bottom of the grill body) with a putty knife to remove grease and carbon flakes. Push the debris into the grease tray opening, then remove and clean the tray.
6. Check the ignition system. Test each igniter to make sure it produces a spark. Clean the electrode tips with a cotton swab dipped in rubbing alcohol. If an igniter is not working, check the battery (if applicable) and the wire connections.
7. Reassemble and test. Put everything back together, reconnect the gas, and perform a leak test by brushing soapy water on the connections and watching for bubbles. Fire up the grill and let it run on high for 15 minutes to burn off any remaining cleaning residue.
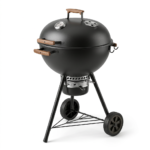
Deep Cleaning a Charcoal Grill
1. Remove all ash and old charcoal. Start with a completely cool grill. Remove the cooking grate and charcoal grate, then scoop out all ash and unburned charcoal from the bottom of the grill. A small metal shovel or ash tool makes this easier.
2. Clean the grates. Soak the cooking grate and charcoal grate in warm, soapy water for 30 minutes, then scrub clean. For heavy carbon buildup on the cooking grate, use a paste of baking soda and water as a gentle abrasive.
3. Scrape the interior. Use a putty knife or grill scraper to remove carbonized grease and buildup from the inside walls and lid of the grill. Pay special attention to the area around the vents, as buildup here can restrict airflow.
4. Clean the vents. Check the top and bottom vents for blockages. Use a small brush or compressed air to clear any debris. Make sure the vents open and close smoothly.
5. Wash the exterior. Wipe down the outside of the grill with warm, soapy water. For porcelain-enameled surfaces, avoid abrasive scrubbers that can scratch the finish.
6. Inspect for rust. Check the grill body, legs, and hardware for rust spots. Small areas of surface rust can be sanded with fine-grit sandpaper and touched up with high-temperature grill paint. If rust has eaten through the metal, it may be time to consider a replacement.
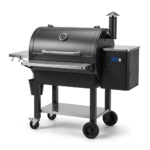
Deep Cleaning a Pellet Grill
1. Empty the hopper. Remove any remaining pellets from the hopper. If pellets have been exposed to moisture, they can swell and jam the auger. Store pellets in an airtight container in a dry location.
2. Vacuum the fire pot and interior. Use a shop vacuum to remove ash and pellet dust from the fire pot, the bottom of the cooking chamber, and around the auger tube. This is the most important step for pellet grill maintenance, as excessive ash can smother the fire and cause temperature issues.
3. Clean the grates and drip tray. Remove the cooking grates and drip tray. Soak and scrub them as described above. Many pellet grill drip trays are lined with aluminum foil for easy cleanup — simply remove the old foil and re-line with fresh foil.
4. Clean the temperature probe. The internal temperature probe (usually a small metal rod inside the cooking chamber) can accumulate grease and give inaccurate readings. Gently clean it with a damp cloth and mild soap.
5. Wipe down the chimney. Check the exhaust chimney for creosote buildup, which appears as a dark, sticky residue. Scrape away heavy deposits with a wooden or plastic scraper.
6. Update the firmware. Many modern pellet grills have Wi-Fi connectivity and receive firmware updates from the manufacturer. Check the app or the manufacturer’s website to make sure your grill is running the latest software.
Seasonal Maintenance Checklist
At the beginning and end of each grilling season, run through this checklist to keep your grill in top shape.
| Task | Gas | Charcoal | Pellet |
| Deep clean interior and grates | Yes | Yes | Yes |
| Inspect and clean burners/fire pot | Yes | N/A | Yes |
| Check gas connections for leaks | Yes | N/A | N/A |
| Empty and clean grease tray | Yes | N/A | Yes |
| Clear ash from firebox | N/A | Yes | Yes |
| Inspect for rust and touch up paint | Yes | Yes | Yes |
| Check and clean vents/chimney | N/A | Yes | Yes |
| Test ignition system | Yes | N/A | Yes |
| Lubricate hinges and wheels | Yes | Yes | Yes |
| Cover grill with weatherproof cover | Yes | Yes | Yes |
Tips to Extend the Life of Your Grill
Beyond cleaning, a few extra habits can add years to your grill’s lifespan.
Invest in a quality grill cover. Exposure to rain, snow, and UV rays is the number one cause of rust and exterior deterioration. A well-fitting, waterproof cover is one of the best investments you can make.
Store your grill properly. If you live in a region with harsh winters, consider moving your grill into a garage or shed during the off-season. If that is not possible, make sure it is thoroughly cleaned, dried, and covered.
Season your grates. Just like a cast iron skillet, cast iron and steel grill grates benefit from regular seasoning. After cleaning, apply a thin layer of high-heat cooking oil (like canola or grapeseed oil) to the grates and heat the grill for 15 minutes. This creates a non-stick surface and prevents rust.
Replace worn parts promptly. Grill grates, burner tubes, heat deflectors, and igniters are all considered wear items. Replacing them when they show signs of deterioration is far cheaper than buying a new grill.
Final Thoughts
A clean grill is a happy grill. By spending just a few minutes after each cook on basic maintenance and committing to a deep clean a few times a year, you will enjoy better-tasting food, more consistent performance, and a grill that lasts for many seasons to come.
Need replacement parts or a new grill? Shop our full range of grills and accessories at BAQQER.com — we have everything you need to keep your outdoor cooking setup in perfect condition.